|
Mufftone Fuzz Project
Welcome to my page about the building of the Mufftone Fuzz effect pedal. Let me start by saying that this is my first attempt at building an effects pedal from the ground up. I have lots of experience with guitar wiring and I just recently completed modding and upgrading a DOD OD250, but I've never built an entire pedal. All of the photos on this page are clickable thumbnails click on them to see the full-sized image. This is the complete kit that I ordered from Build Your Own Clone (b.y.o.c.), an online source for many FX kits. They call this a Large Beaver, but it's a clone of a triangle knob Big Muff. I named mine a Mufftone Fuzz. B.y.o.c. provides all the parts you'll need, as well as instructions that make for an easy and fun project. 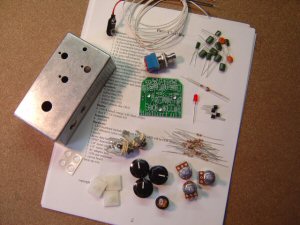
I've got all the hardware -- pots jacks, and footswitch mounted in the empty enclosure. I'm just test fitting them for now. 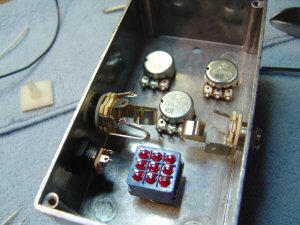
I hadn't yet decided on a finish for the enclosure yet, so I decided to go ahead and start populating the circuit board. Here are a few shots of that. 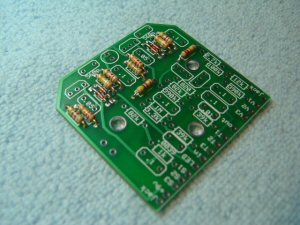
I used a radio shack 20/40 watt soldering iron with a very small point for the tip. You'll need a small tip to get into the solder pad on the board. It can be pretty tight, and you want to be able to get in and out quickly. 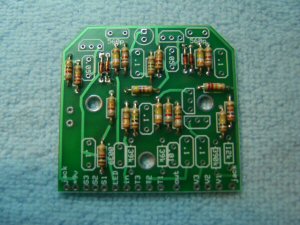
Actually, this is rather tedious, but once I got the hang of it, it was rather fun. 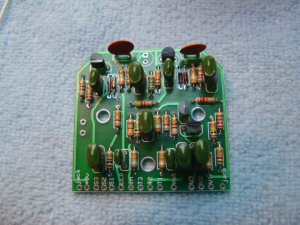
After I finished soldering all the components on to the board, I happened to run across a midrange mod on the b.y.o.c. message boards. The message boards are a tremendous help for a novice such as myself, by the way. I won't go into detail here, but it involved substituting two capacitors and another three-way switch/multi-cap system. Here's a link to the mod. In this picture you can see the two new brown replacement caps and the leads that go to the switch. Each wire is attached to a leg of a cap from the underneath side of the board. 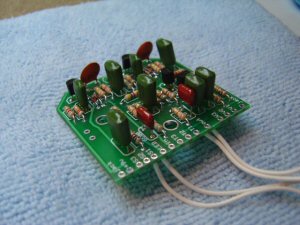
And here is the switch with two more caps wired to it. 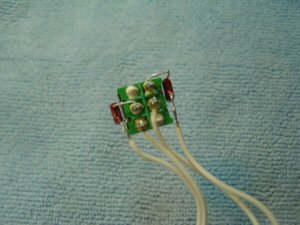
Here's a shot of the back of the circuit board. 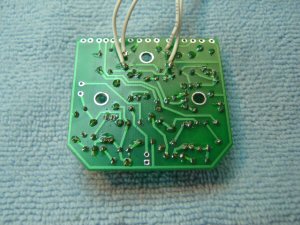
And here's the back of the board and the mids mod setup. 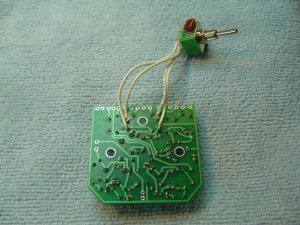
Click here to go to the next part, Painting and decals. |